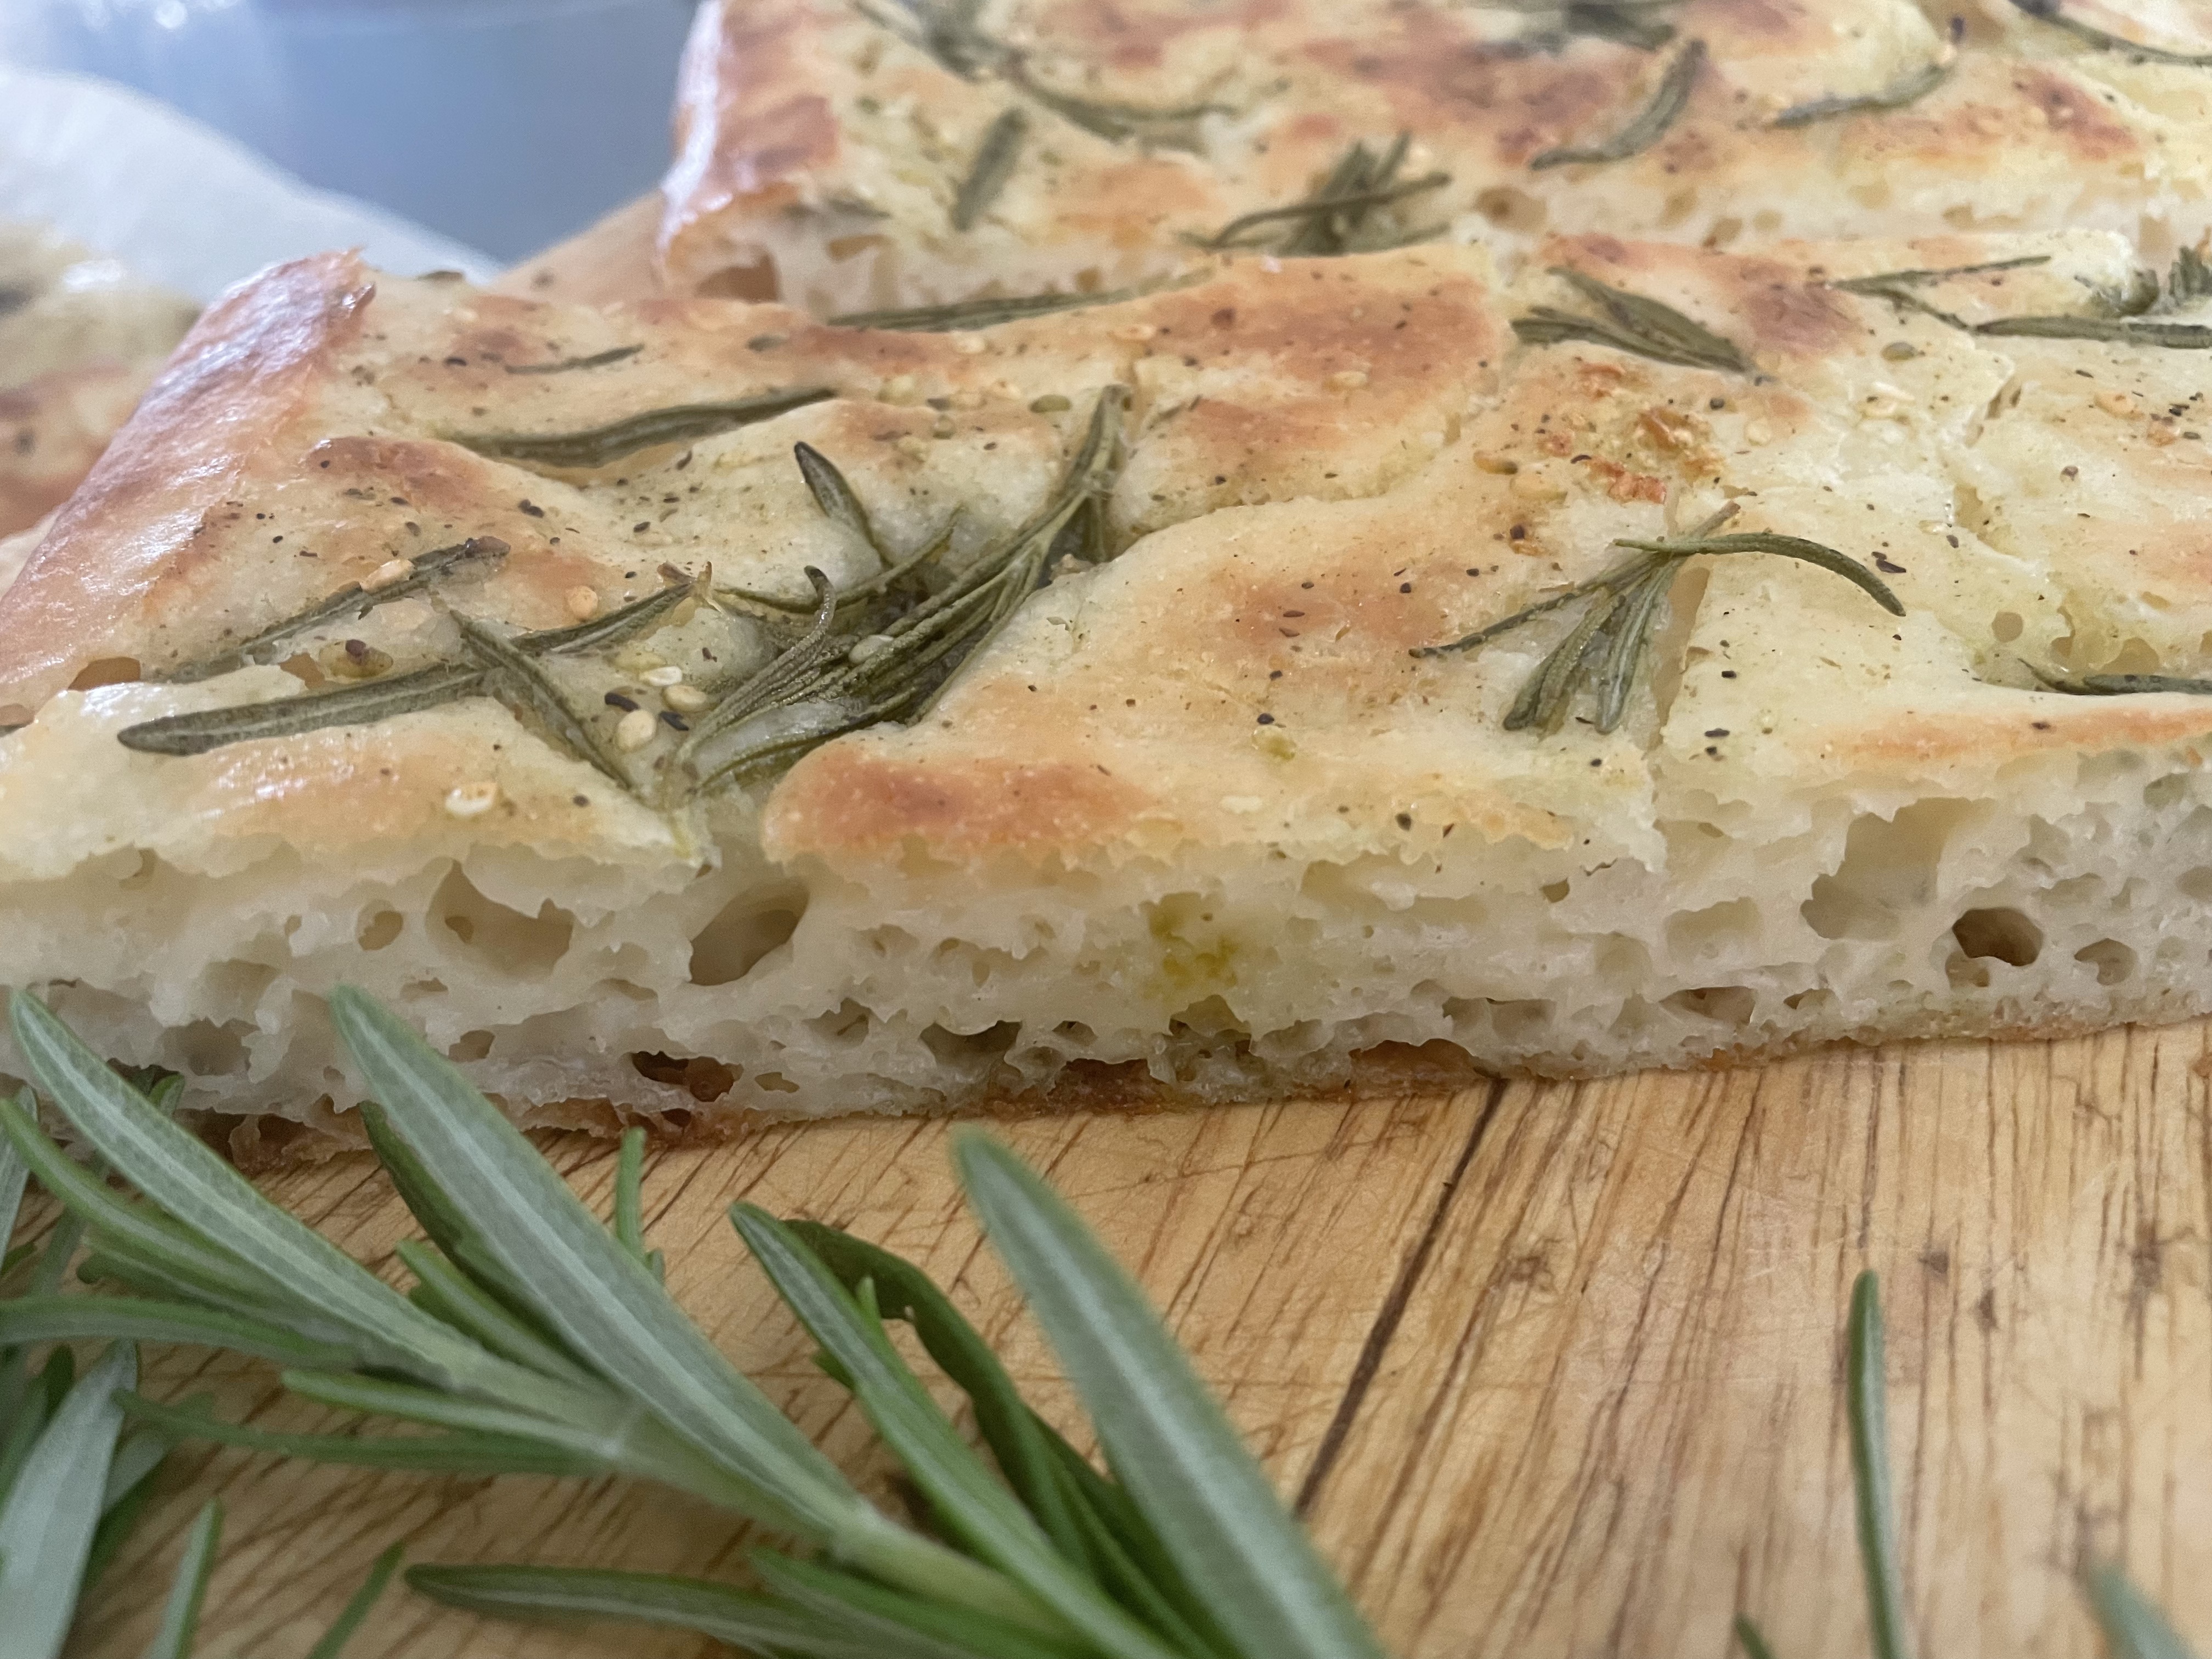
Leaving behind a gluten-ful existence can be challenging, but our gluten free foccaccia is here to save the day!
Note* you will need a blender for this recipe and a total disregard for carb counting lol.
Whether you are a coeliac or just gluten conscious, food options for those of us who have chosen to ditch the gluten have increased exponentially in recent years. It’s been good to see shopping shelves increasing their range of gluten free products. Not only that, but the Gluten Free labelling on products is big and bold, so there’s no need to be standing in the isle, squinting at the ingredients list for hours on end. Having said that.. the gluten free industry still has some room for improvement. Firstly, the expense associated with purchasing gluten free goods such as bread, crackers and bikkies (biscuits for all you non-aussies) often means that I have to tell my GF guest that the small plate of crackers on the side of the cheeseboard is for them. And then there’s the issue of the bread. Let’s face it, there aren’t too many of us who would choose to eat GF bread, unless we need to. It’s no secret that the gluten free bread, crumpets, burger buns etc. offered in our supermarkets is a poor cousin to the carb-junkie delights available to the rest of the population. Not only that, if you bother to put on your spectacles and read through the ingredients list.. ooooh my!!! Let’s not even go there! Don’t get me wrong, the gluten free stressometre is barely registering a reading these days.. given the ever increasing number of products available. But in the wise words of 1990s pop group D:Ream, Things can only get better! So here we (H&TKitchen) are.. with an awesome recipe to be enjoyed by Gluten free-ers and carb junkies alike.
Now, I agree that making your own bread, or in this case..foccaccia requires some time and mucking about. But.. this recipe is worth it, simply because it addresses all of the niggling little botherations experienced by gluten free-ers and their hosts. Namely, it’s cheap and easy and everyone loves it (so I suggest making a double batch if you are planning to serve more than 4 people) Also, it doesn’t have a looong list of perplexing ingredients. Of course, you can add your own favourite herbs/seasonings to compliment the rest of your meal.
Now, before getting started, please note*** you will need a blender for this recipe.
2 cups rice (I usually use a mixture of white and brown)
1 cup water
2 tablespoons olive oil
2 tablespoons rice syrup
2 teaspoons instant yeast
1 teaspoon salt
BAKING CONDIMENT
2 tablespoons water
2 tablespoons olive oil
herbs/spices/seeds (optional)
salt (preferably salt flakes or Celtic salt)
METHOD
Soak the rice in water (anywhere between 2 – 6 hours). Drain. Line a baking tray (approx 20 x 30cm) with baking paper.
Place the rice and approximately 200 ml of water in the blender. Sprinkle the yeast on the remaining 50ml water, stir and set aside.
Add the salt, olive oil and and rice syrup to the blender and blend for several minutes until the mixture is smooth. If you have a slow setting on your blender, mix in the yeast on the lowest setting. If not, stir it in by hand. This will prevent any possible damage to the yeast.
Pour the mixture into the baking tray and leave to rise for an hour.
Heat the oven to 240 °C. The mixture should appear light and bubbly. Sprinkle generously with salt and herbs/spices, if using. Combine the olive oil and water in a jar or lidded container and shake rigorously. Pour over the mixture and immediately place in the oven. Bake for 15 minutes or until golden.
